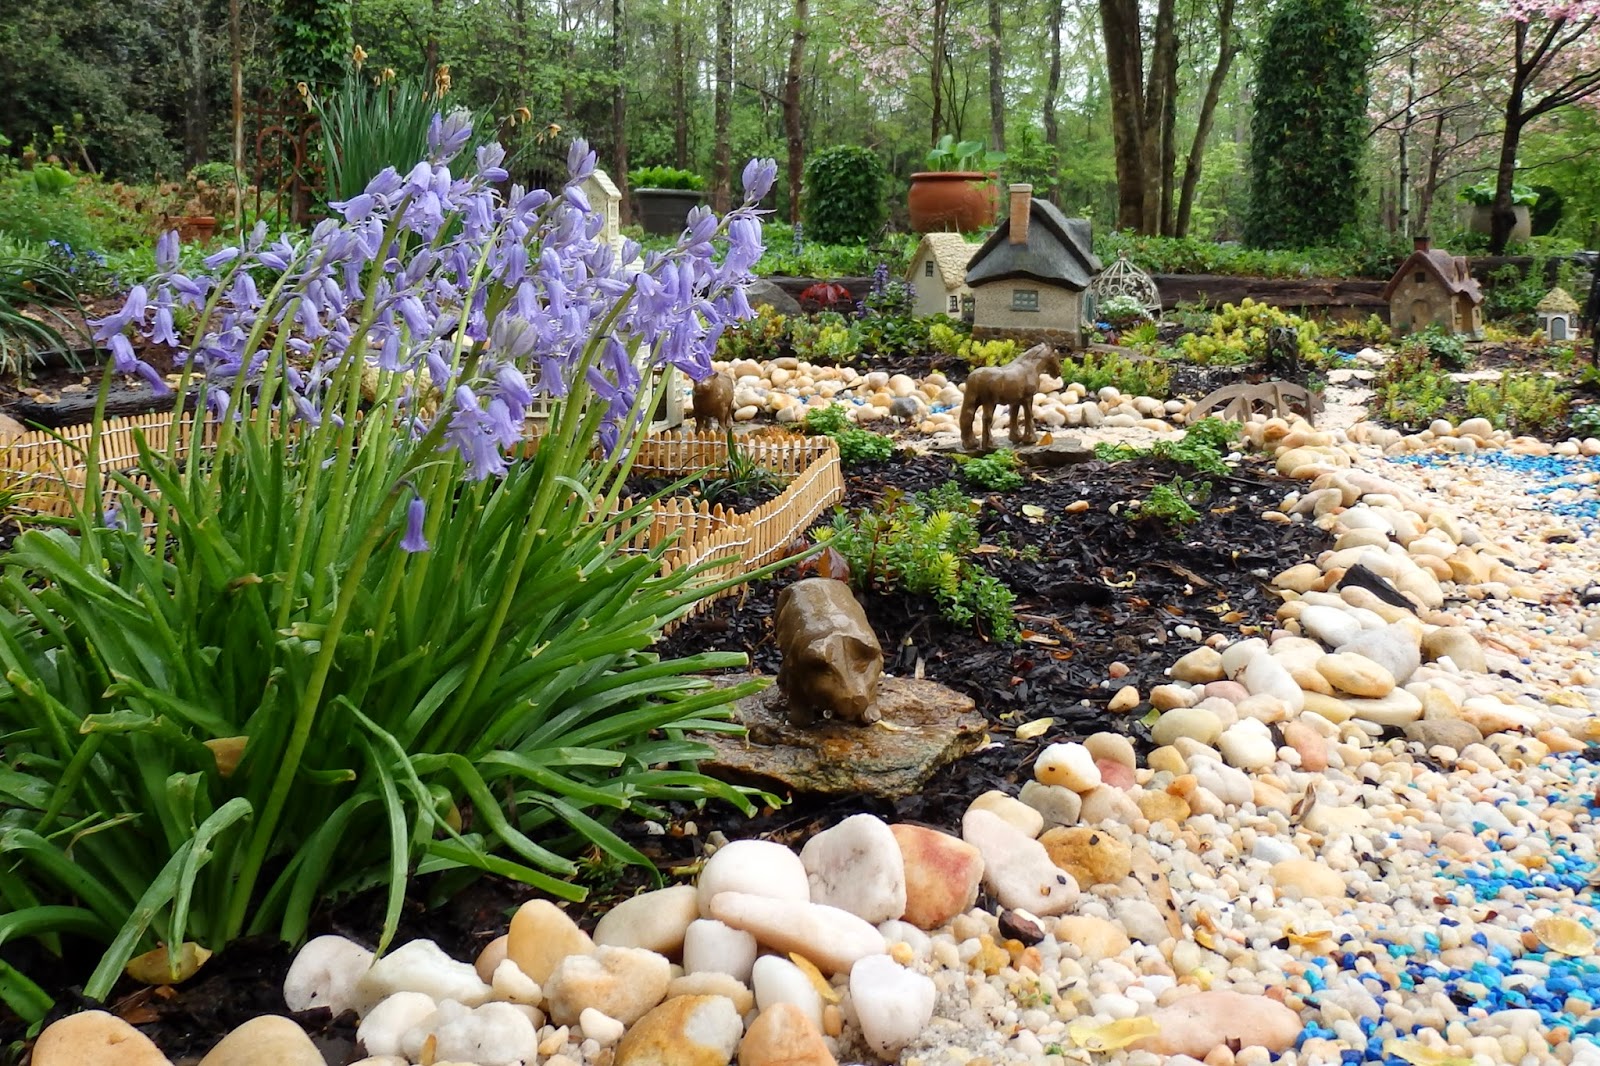
Planning my Little Town of Parsley, I always keep in mind that I want to share it with all ages. Wouldn't it be more fun if anyone could walk through it, as well as circle to view it? And, if my little grandson wants to visit the farm and the animals, I know that I must have easy access for his enjoyment.
 |
| A dry bed that can work for walking and weeding |
The Dry Bed
I determined a human-size walking path for the the little garden. The width was more than I think looks good for the scale of the buildings; however, here was a good place to begin for everyone to adjust to the path. I knew that plants would eventually cover the edges and creep to take up the awkward visual space.
Underneath the layout, I had used landscape fabric to prevent weeds. I dug down to the fabric level - which was only about two inches - where I previously planned pathways/waterways. Filling the outline with paving sand, I wet the sand and tamped it to the firmness that I wanted in texture.
 |
| If you want to do something similar, be sure the sand is PAVING sand. |
The next day I was off to Lowe's to use my Christmas gift card. Here I purchased items for hardscaping and landscaping.
 |
| More paving sand, egg rock, pea gravel, Moisture Max Garden Soil |
 |
| This tray was packaged as "Drop and Grow." I could divide it and save$. |
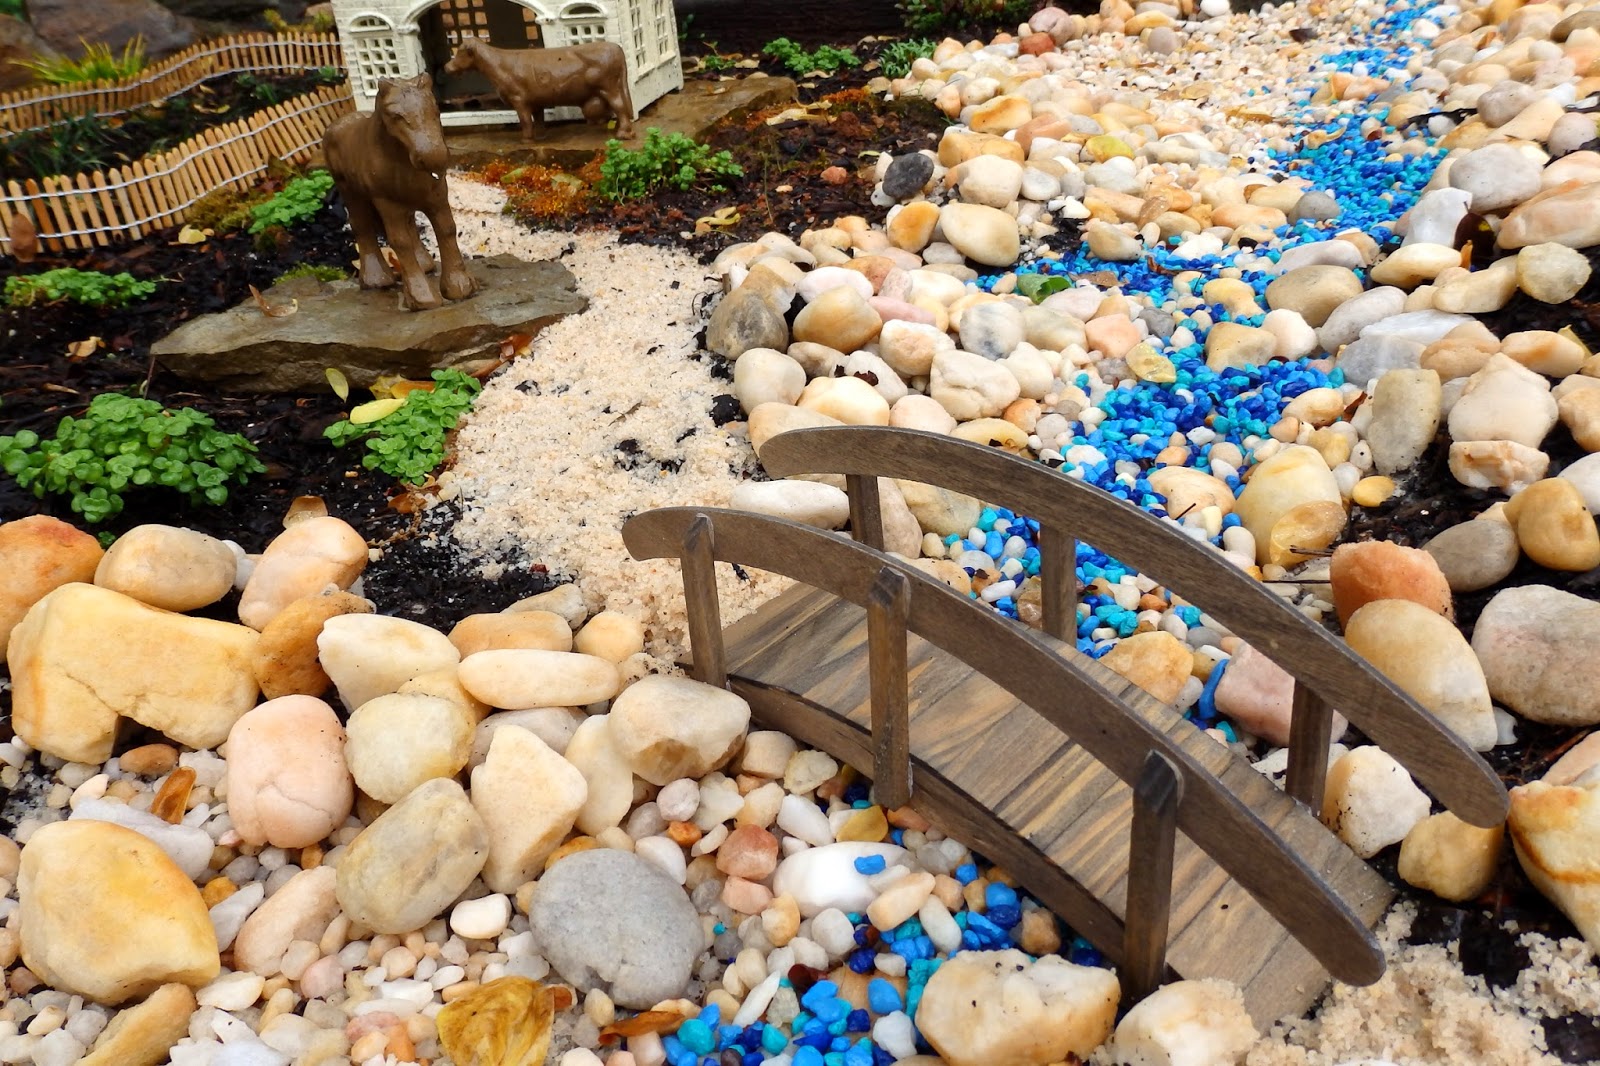
I added the pea gravel first and then lined the edges of the dry bed with egg-size rock. I will mix a few egg rock in the bed so that the rocks appear to have been washed along. I can fill the gaps of the sides with the pea gravel. I continue to walk on the bed to tamp it further.
 |
| Add pea gravel. Add egg rock along sides and randomly in bed. |
 |
| I followed a natural flow of water from heavy rains we usually experience. |
At the end of each section, I used rock to appear as if water came from underneath them.
I continued to firm the edges so that moss and other plants would hold the soil from washing into the beds.
My plant purchases: Silver King Hens and Chicks; Sedum "Lime Zinger"; Viola "Silver Gem"; Sedum "LimeLight"; Hedera "Spetchley Gnome" (Miniature Perennial Ivy)
 |
| Snowflake Creeping Phlox |
 |
| Silver King Hens and Chicks - I use these to mimic cabbages in the gardens. |
 |
| Packaged as "Drop and Grow," various types of sedum that I divided |
 |
| Packaged as "Drop and Grow," various types of sedum that I divided |
 |
| Packaged as "Drop and Grow," various types of sedum that I divided |
 |
| When I divided the various types of sedum, I saved all the "debris" to plant. |
 |
| Hedera "Spetchley Gnome": miniature ivy on the arbor |
I will "test the waters" now - waiting for several days of rain. Wish me luck. See you soon!