Wednesday, July 13, 2016

We here at Little Town thank you for your enthusiastic cheers for our rebuilding. Many have asked for a step-by-step tutorial to demonstrate how our easy maintenance village can showcase a storybook land.

The planning commission gladly put together a tutorial about what has worked. This plan can be as simple or advanced as you wish...yet really fun and easy no matter the stage.

Although not compensated for any item by sponsors, Little Town Mayor shares what has been convenient and successful. Some items are new, but most items are from her craft and housewares stash:

Building (I like the size and quality of Plow and Hearth, but more expensive and less expensive are easily available. The size will determine the container size.)

  • Container (I like this one.)
  • Small cement blocks to place under container for drainage (about $1 each)
  • Large bag of potting soil (I like the moisture enhanced versions.)
  • Small creeping plants that survive your climate/seasons
  • Stones and optional fish tank gravel

For the faux water in this mill version: plastic container (sandwich size); flower arranging "faux water" kit; flower arranging gems, glitter, gravel


STEP ONE: Drill holes in the container.

  
OPTIONAL: Make faux water with the florist-arranging kit found in your craft store. This process requires that you make the item many days in advance to allow for drying.


STEP TWO: Determine your location according to plant requirements. Place cement blocks, and balance the container on top.
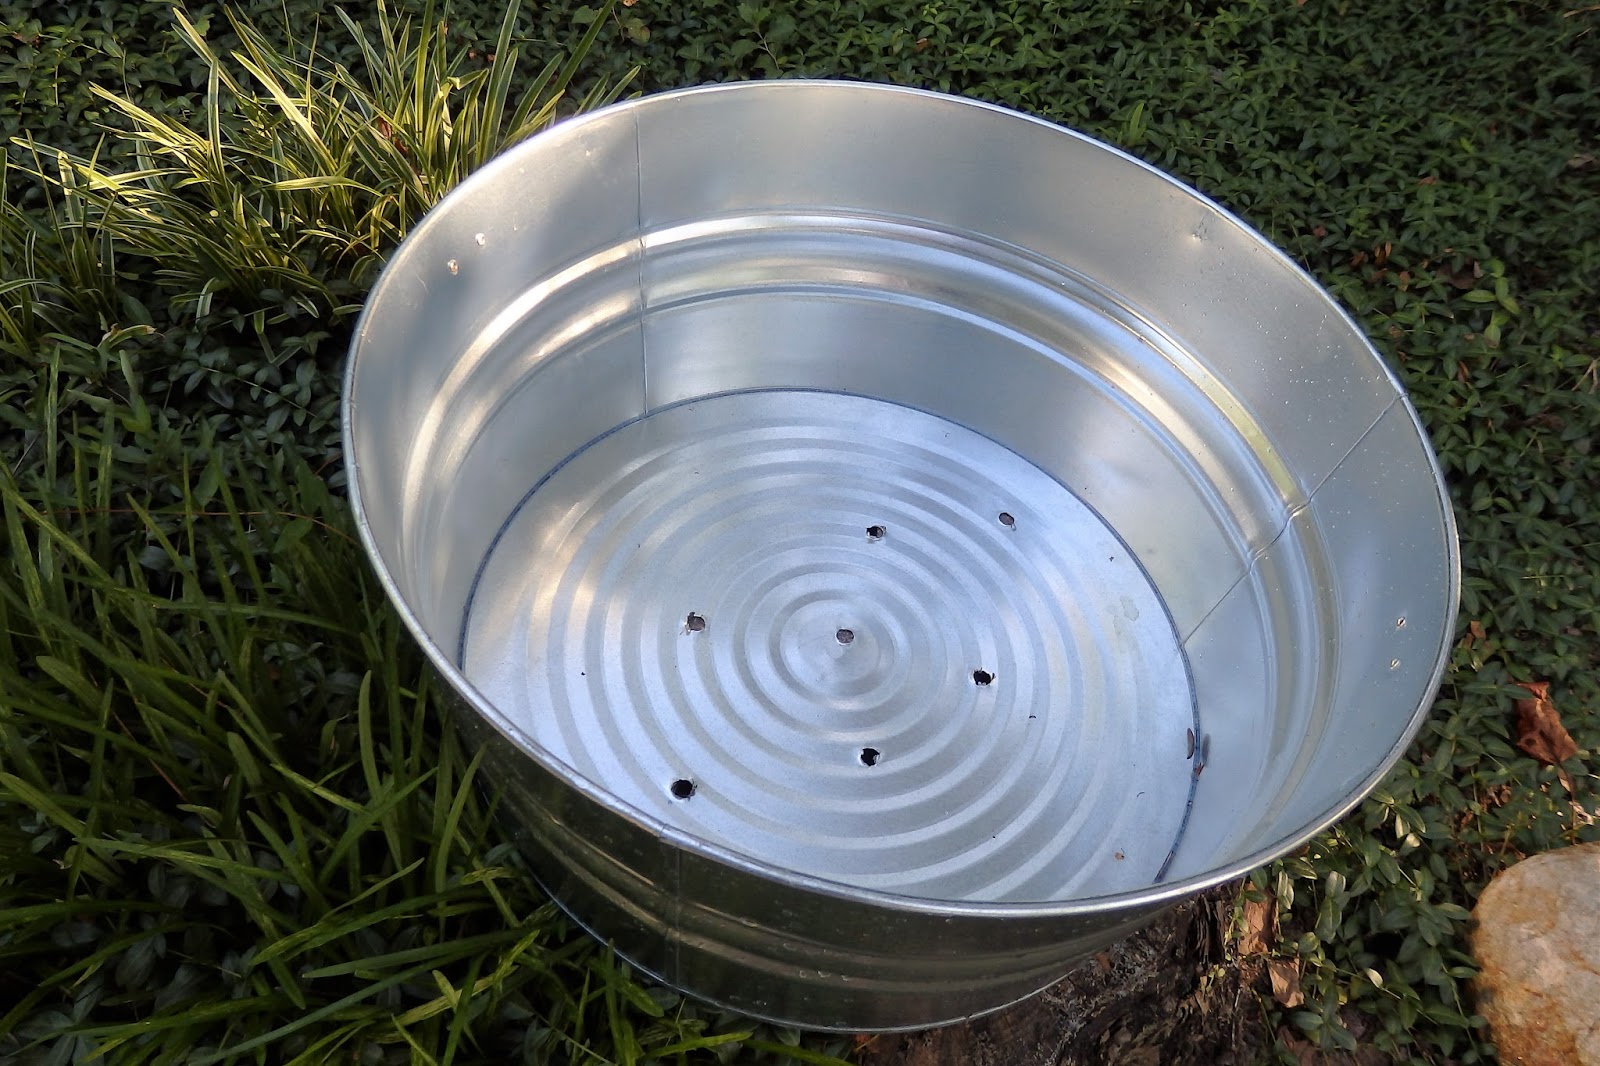


STEP THREE: Gather your plants and soil. I had nurtured my plants since this incident.


STEP FOUR: If there are significant plant roots and soil, fill the container three-quarters full, and arrange plants. Otherwise fill with an appropriate amount of soil - remembering that all will settle when watered later. Place a flagstone for the base of your building. Arrange according to your vision. Fill with plants, stone, gravel, sand, etc. Water carefully. Enjoy!


OPTIONAL for this Mill Design: Here are the visual steps for placement of plants and décor to create a stream effect for the mill.

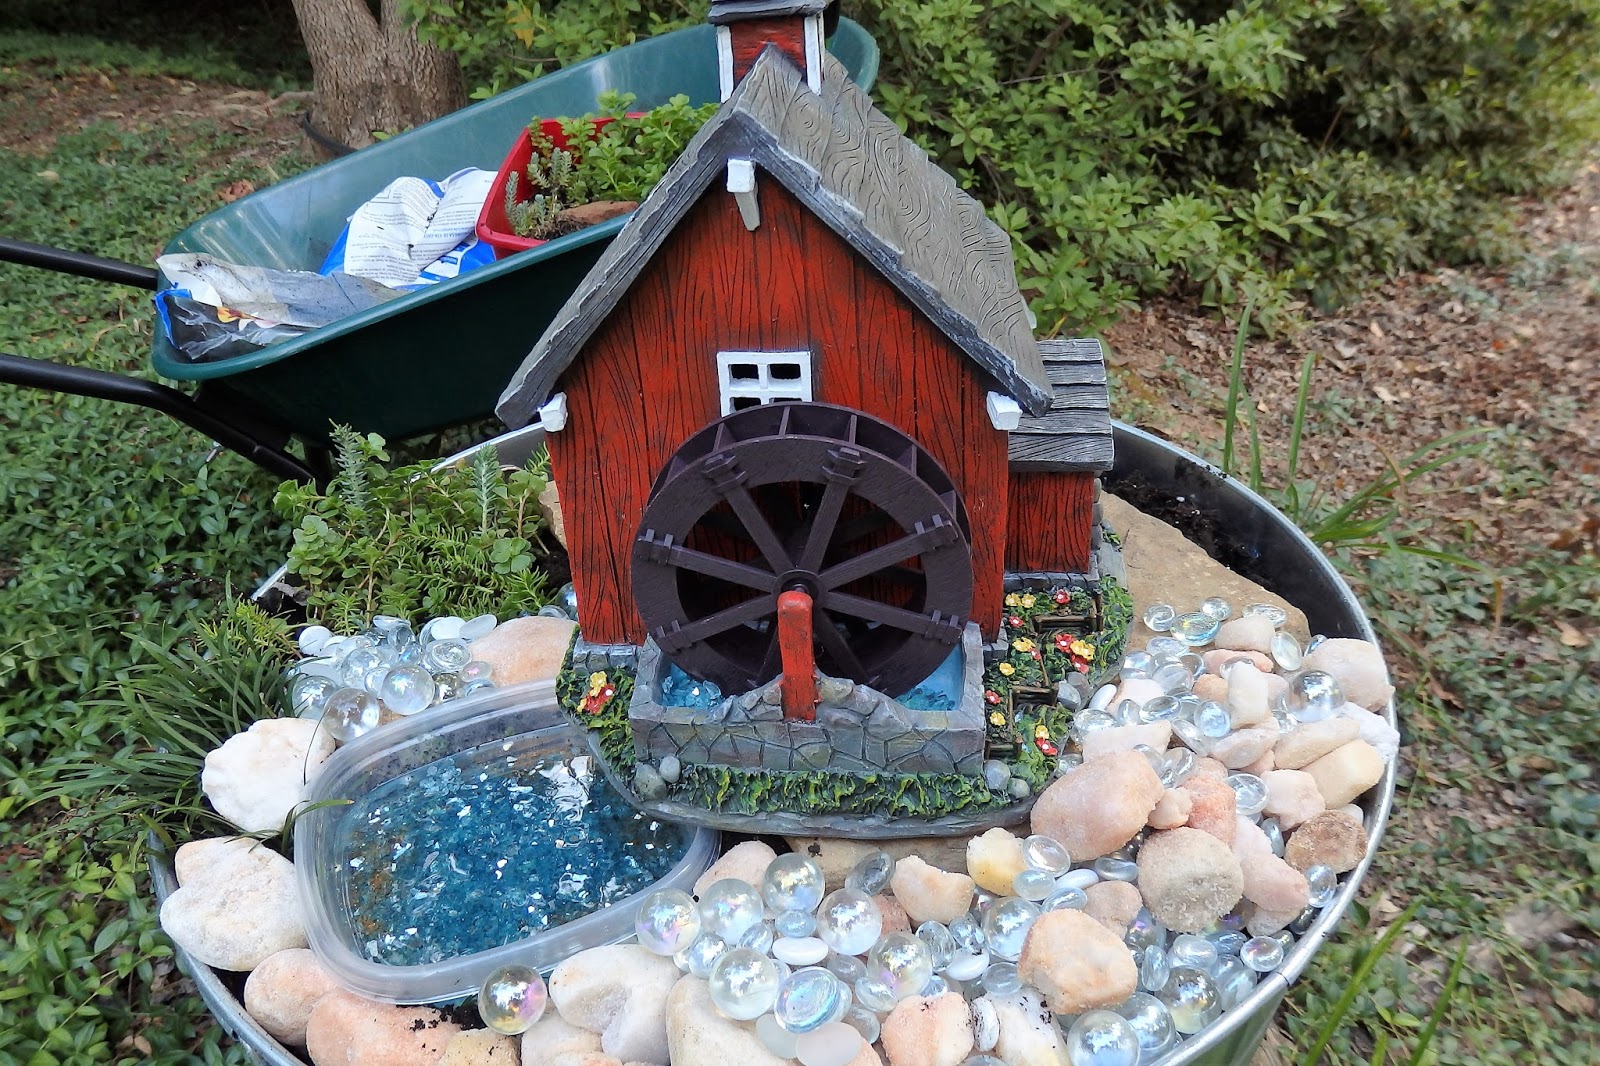


Here is the new mill located "up the hill" from the farm at Little Town.


Thanks for visiting, Little Town Mayor


Tuesday, July 12, 2016

Like Tolkein's Hobbits, I am a home-body also; however, I do like occasional big adventures - though none as amazing as those of Bilbo and Frodo. My husband loved Hobbits too, so I imagined that the best place to have a little Hobbit home was in his beloved wheelbarrow.


Thanks for visiting, Little Town Mayor

This one is Nona's house...small with a good-sized garden and a fenced playground on the side for grandchildren. I need to find some toys.


Tomorrow is the updated farm. See you then! Little Town Mayor

Monday, July 11, 2016

Two years ago vicious yellow jackets invaded Little Town. They held off all heroic assaults and gave fierce warning to Little Town's protectors: "Do not return! This town belongs to us insects."

2014


The yellow jackets, however, did not survive the winter. Unfortunately for Little Town, damage came in the forms of weakened infrastructure, wounded helpers, and plant devastation. Inhabitants waited two years for a new plan and renewed financing. Today a progressive new town plan begins. Follow our progress in the next entries. The last post will demonstrate steps to building your own Little Town.

2016 


Many thanks, Little Town Mayor


Sunday, October 12, 2014

"Nona, Don't Wear That!"

"... I don't like it. Wear your Nona clothes."

I have to admit that never have I had someone tell me so directly that I exhibit incorrect fashion. Leave it to a three-year-old grandson to set me to pondering.

What are "Nona clothes"?

He did not know me during these fun times.


In the fifties and sixties, I was to wear dresses in public - especially to school. In the seventies, pants were beginning to be proper work apparel. In the eighties, I loved my aerobic wear!


He did not know me during these maturing times.


Since I always enjoyed a relaxed, sporty look, I appreciated the fit and comfort of these fashions most of the time. They were also perfect for a mother of three. Now I am a grandmother. What has gone wrong with me as a fashionista?

First of all, I am not a fashionista! My mother was a masterful seamstress. She made the majority of my clothes for twenty years. She had a creative but conservative flair. She encouraged me to do the same.

I grew up knowing how to select really nice items for bargain prices. That was helpful when I first began teaching with a salary of $6500 annually.

According to my observations, I have always been: current, but not too trendy; thrifty, but not cheap; somewhat conservative, never flashy (except the 1980s, of course); sporty, but always with a feminine touch; comfortable, but not frumpy (except maybe at home after a long day); business casual, but very open to formality and also beach wear; comfortable in all-black or tropical brights; most happy with classic statement jewelry and my own fun creations.

I understand myself, yet I do not understand my three-year-old grandson's dislike for the above. What are "Nona clothes"? Let us observe:


Matching outfits while we play


Warm cuddly clothes before bedtime 

Comfortable clothes for the occasional scream-fest

Large sweater to cover little boys from Hollywild cows

Matching clothes for celebrating birthdays

I am going to do what every woman should do. 

Actually ask the man in your life what he means! Do not try to guess what he means! 

If he is brave (like all the ones whom I have known), he will tell you.


The One-Eyed Cook

... or more accurately "The Cook with One-Eye." As you may remember, I wrote in the last post that I have only one heating unit working on my old stovetop. Yes, I need to replace the entire stovetop, but I have several more house repairs to finance first.

My meal planning system so far is working very well; however, I seem to consume all my meals before my daughters. They have multiple jobs and/or long shifts, as well as graduate school. Their schedules are more chaotic than mine. I eat at regular times because I am retired and at home, so I need interim meal plans for myself.

I began to think about what I have instead of what I wanted, so I considered favorite meals just for me. I have "one eye," a microwave, an oven, and a GRILL. Do you know what I remembered as one of my favorites? The "Stew in a Bundle" over a fire that my friends and I cooked as Girl Scouts in 1963! So delicious!!


My Pinterest search revealed a new look at cooking foil packets on a campfire/grill. See this easy chart:

Drawing a dinner blank? 5 no-fuss, no-fail foil packets. Just add chicken, rice, sauce and Green Giant veggies.

Here are tips for creating a packet meal. My favorite tips are from Jen Klein of "SHEKNOWS." (When I went grocery shopping, I was able to purchase sale and BOGO items.)

Ingredients

  • Meats (fillet of fish or beef, with even thickness; chicken breast cutlet; chopped chicken thigh meat or pork; shrimp or scallops)
  • Vegetables
  • Seasonings
  • 2 to 3 tablespoons flavorful liquid (wine, stock, citrus juice, soy sauce, marinade, oil, butter)

What Worked for Me

  • I made the foil packets as in the diagram above using suggested ingredients (meat, fresh vegetables, seasoning, and 2 to 3 tablespoons of flavorful liquid).
  • I sliced the fresh vegetables thinly so that all would cook evenly with the meat.
  • I grilled the packets on direct medium heat (350 degrees) for twenty minutes.
  • I then moved the packets to indirect heat (upper shelf) for twenty minutes.

Tips for Grilling

  • I used high-temperature vegetable spray in the foil/foil pans.
  • I checked the packets while grilling to prevent burning. (Packet cooking is all about timing. Check one for "doneness." Practice will determine your best timing.)
  • Be careful of steam when you open the packets.
  • Re-use or recycle the foil pans if you used these.

I am set for the week! YUMM


Monday, September 15, 2014

Floral Designer or Restaurateur?

Despite the horrible humidity and high temperatures here, I am really enjoying the look of autumn in the craft stores. Especially the 50% reductions! Now is the time I get other tasks done quickly so that I can have fun with my purchases. Last year at the after-season clearance sales (wowowow 90%), I was able to collect many nice items to add to these new ones. Here are my creations from last week:


I usually work in the craft set-up area in my garage, but the heat forced me into the house. My kitchen is the easiest place inside to protect with drop clothes and for clean-up. What happens when I need to cook? Luckily with the cooking plan that I have been sharing with my daughters, I do not cook often. [See "Home Cooking" and "Order in the House" for my menu planning and cooking methods.]

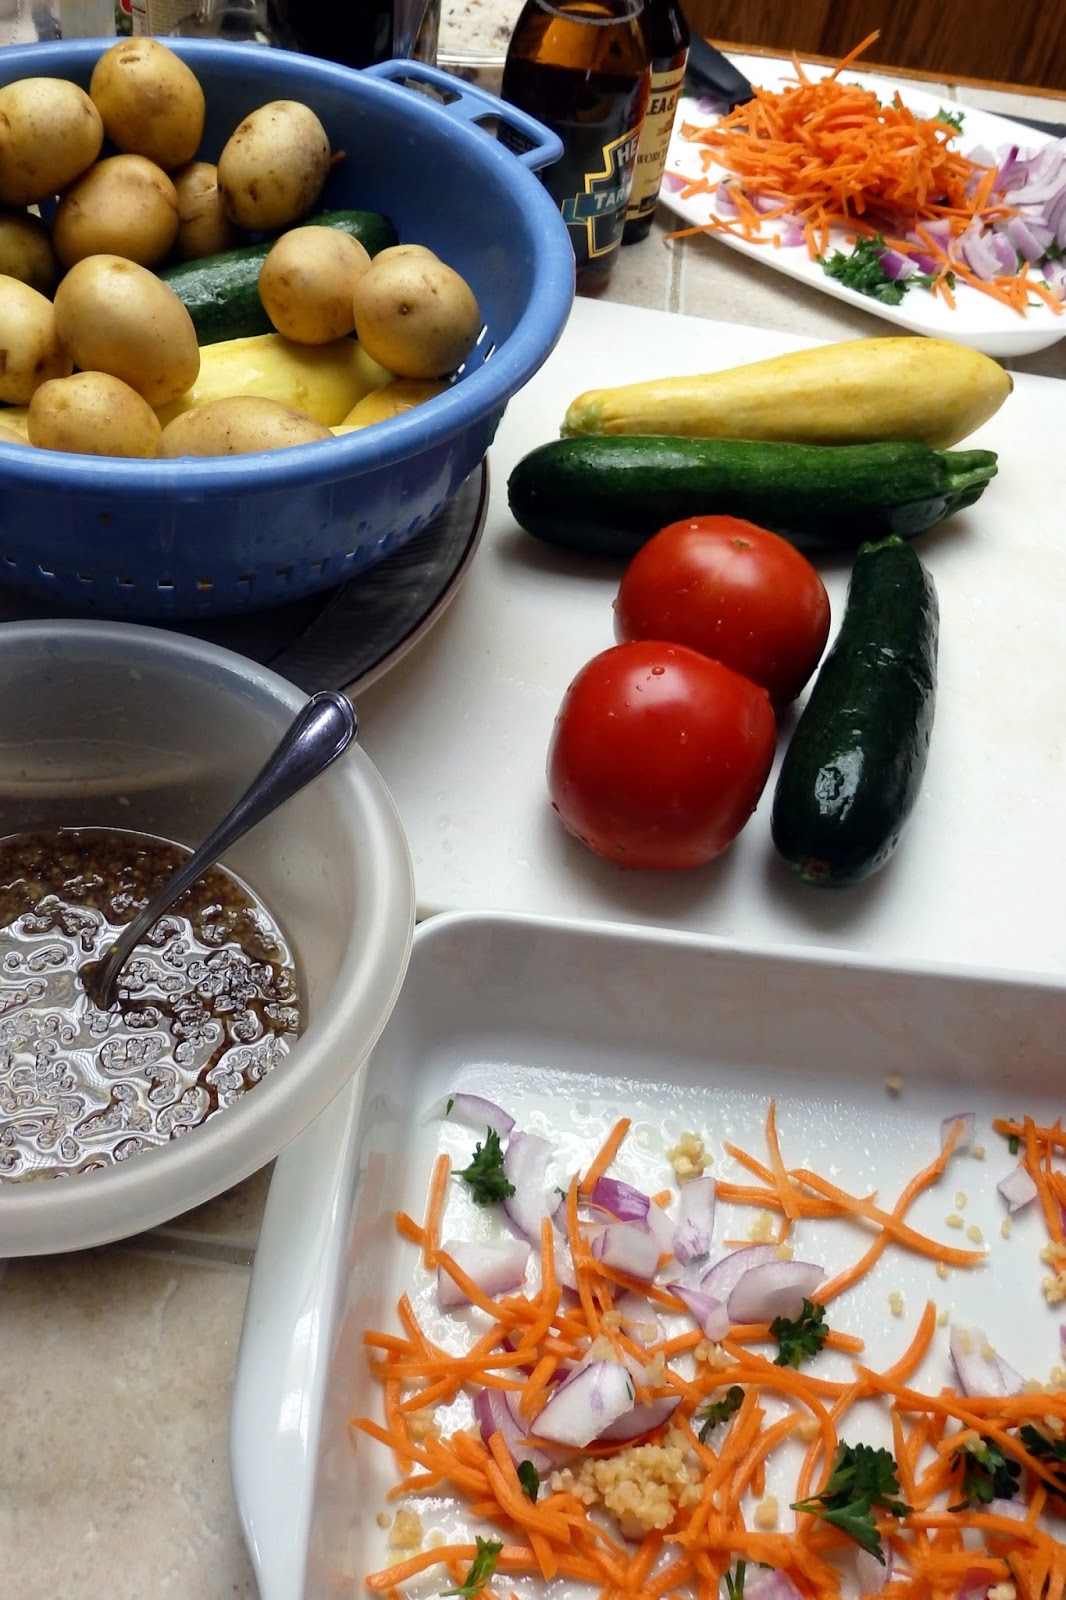
Now 25 days have passed, and all our meals are eaten - so out goes the floral shop and in comes the restaurant prep. I enjoy my process (shopping one day and cooking the next); however, the shopping and putting-away, along with prep and clean-up are time-consuming and tedious for my personality. Want to know my short-cut methods so that I can enjoy the creative process of cooking? FIRST, here are meals:


RECIPE LINKS: Summer Vegetable Bake, Salisbury Steak with Caramelized Onion Gravy,  Best Ever Roast Chicken, Lasagna Rolls, Butter Bean Soup with Cabbage and Ham (With extras such as asparagus, small golden potatoes, carrots, celery, peppers, eggs. cheese, salad fixings = $28 total from each of us independent ladies)

MY MENU SHORTCUTS:

1. Plan meals in a way that suits you. I am very visual (My magnetic refrigerator "Pinterest" display).


2. Shop to save money and time. I shop on "senior day" if I can, purchase "buy-one-get-one-free" items, select sales and reliable store brands, and occasionally use coupons. Since I will be cooking that afternoon or the next day, I help separate items at check-out so that once home I do not put things in the pantry - just the appropriate bags in the refrigerator. I will be using all the items anyway during the next hours.


3. Plan the most efficient cooking order for prep, in-between clean-up, crockpot cooking, stovetop cooking, oven cooking, and final clean-up. My entire cooking process has never been more than four hours (every 20 or so days). I think that is "pretty good" since I have only one heating unit working on my old stovetop. I need to replace the entire stovetop, but it has not made the top five of the major repair list yet!


4. Enjoy your free time! Bye for now...I am off to pursue another creative project.